When it comes to lowering your energy consumption, online articles often tell you to invest in high-performing home insulation. But insulation comes in various materials, with multiple application methods. Not many online articles describe the difference between the kinds of insulation available and specify which one offers the most advantage in terms of energy reduction.
Types of Insulation
Blanket
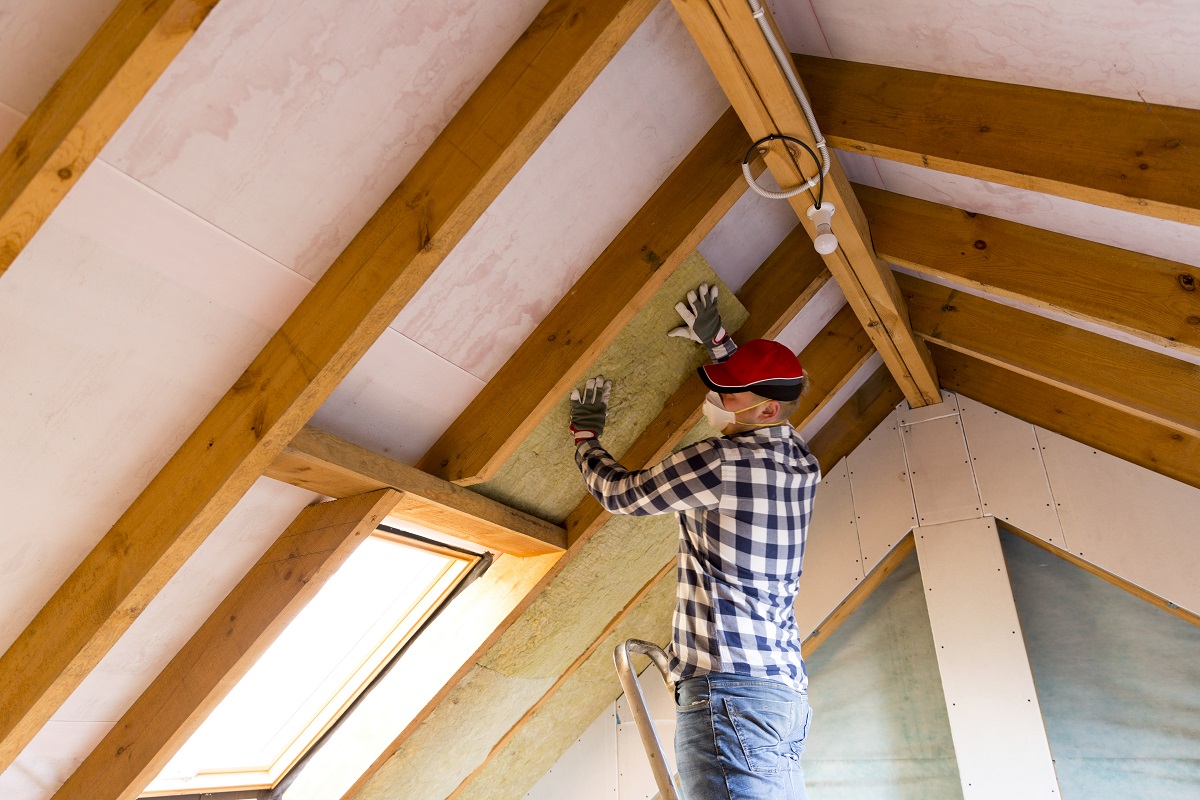
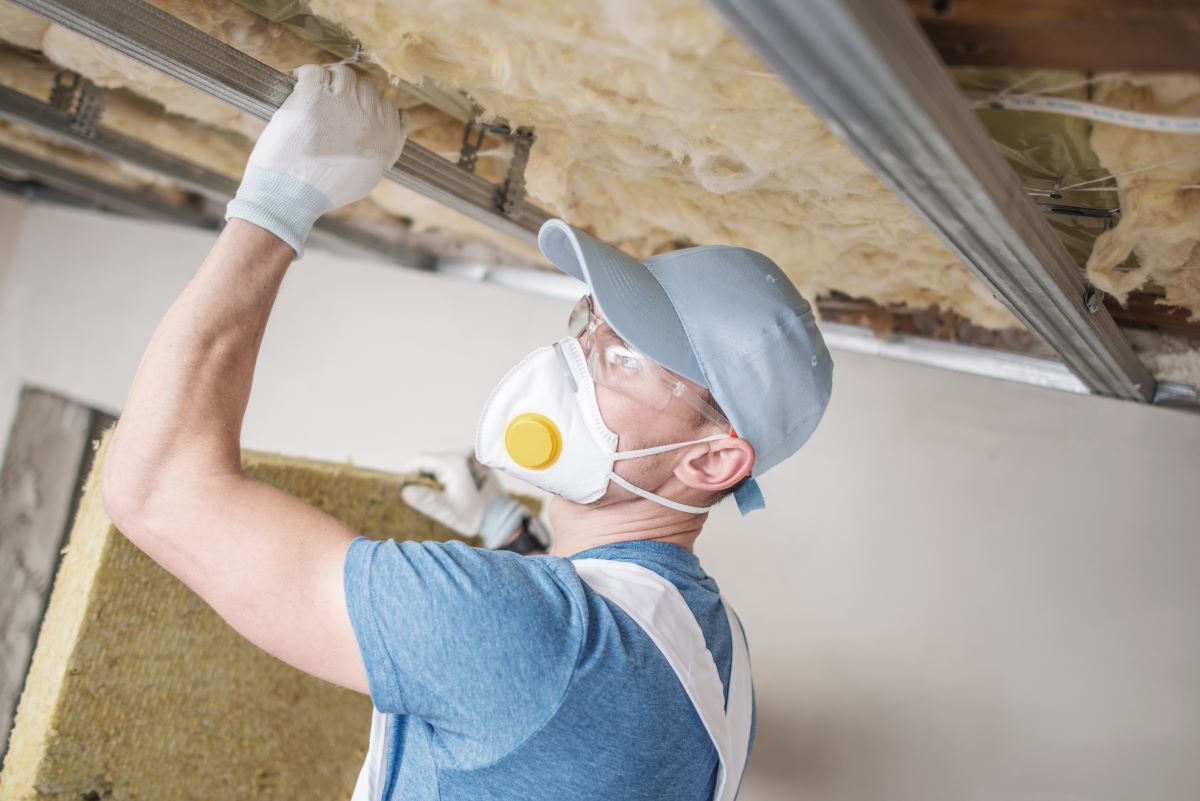
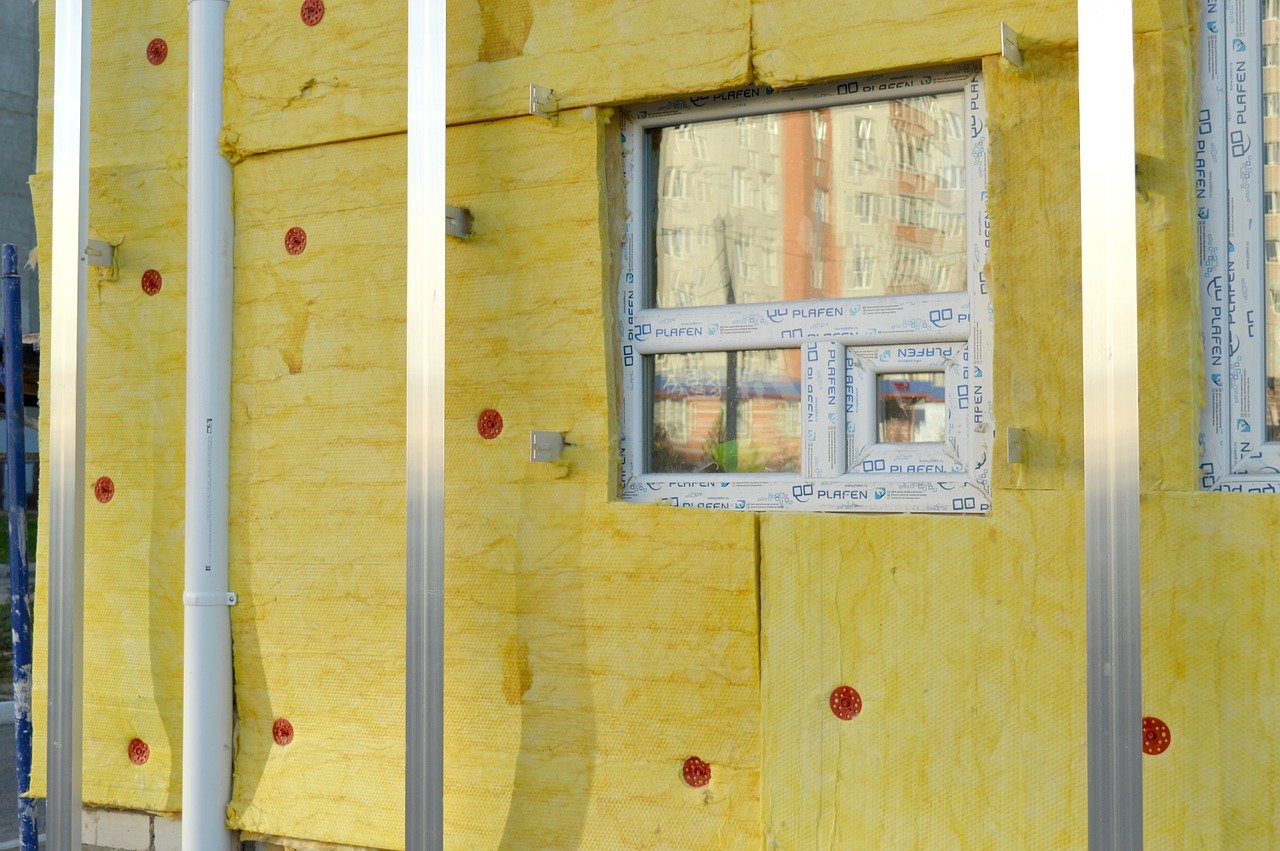
Blanket insulation is the most common type of insulation. The material comes in pre-cut rolls or batts, which are usually made from plastic fibers, natural fibers, fiberglass, or mineral wool. The insulation batts are relatively cheap, easy to transport, and easy to install. This is why blanket insulation is popular amongst do-it-yourselfers.
Insulation batts and rolls are ideal for floors, ceilings, unfinished walls, and attics with standard stud and joist spacing.
The problem with blanket insulation is that it can rip easily. Also, it’s difficult to insulate tight corners, nooks, and crannies because of the size of the batts and rolls.
Foam Board
Foam board insulation involves the installation of rigid panels of insulation. Often made from polyurethane, polystyrene, or polyisocyanurate, foam board insulation can be used in any part of the home. The boards have a high insulating value despite their thinness, so they can be used on ceilings, floors, unfinished walls, and even unvented low-slope roofs.
One advantage of foam boards is that it’s the only type of insulation that blocks thermal conduction through structural elements.
Loose-Fill
Loose-fill or blown-in insulation uses specialized pneumatic equipment to fill an area with fluffy insulation material, usually mineral wool, fiberglass, or cellulose. This type of insulation is best for hard-to-reach and irregularly shaped areas, including spaces with obstructions. Open wall cavities and attic floors are common locations for loose-fill insulation.
However, the effectiveness of blown-in insulation diminishes over time as the material settles and loses its fluff. It also holds moisture, which can cause mold and reduce its insulating power.
Reflective Insulation
Reflective insulation works differently than other types of insulation. Instead of reducing heat flow in your home, it uses reflective materials to bounce heat away from the structure. Foil and film are the most popular materials used for reflective insulation.
The films or foils are often fitted on joists, beams, rafters, and other areas where heat is likely to enter a house. Although this insulation method can be installed as DIY projects, professional assistance is still recommended to ensure its effectiveness.
However, reflective insulation doesn’t perform well in cold climates.
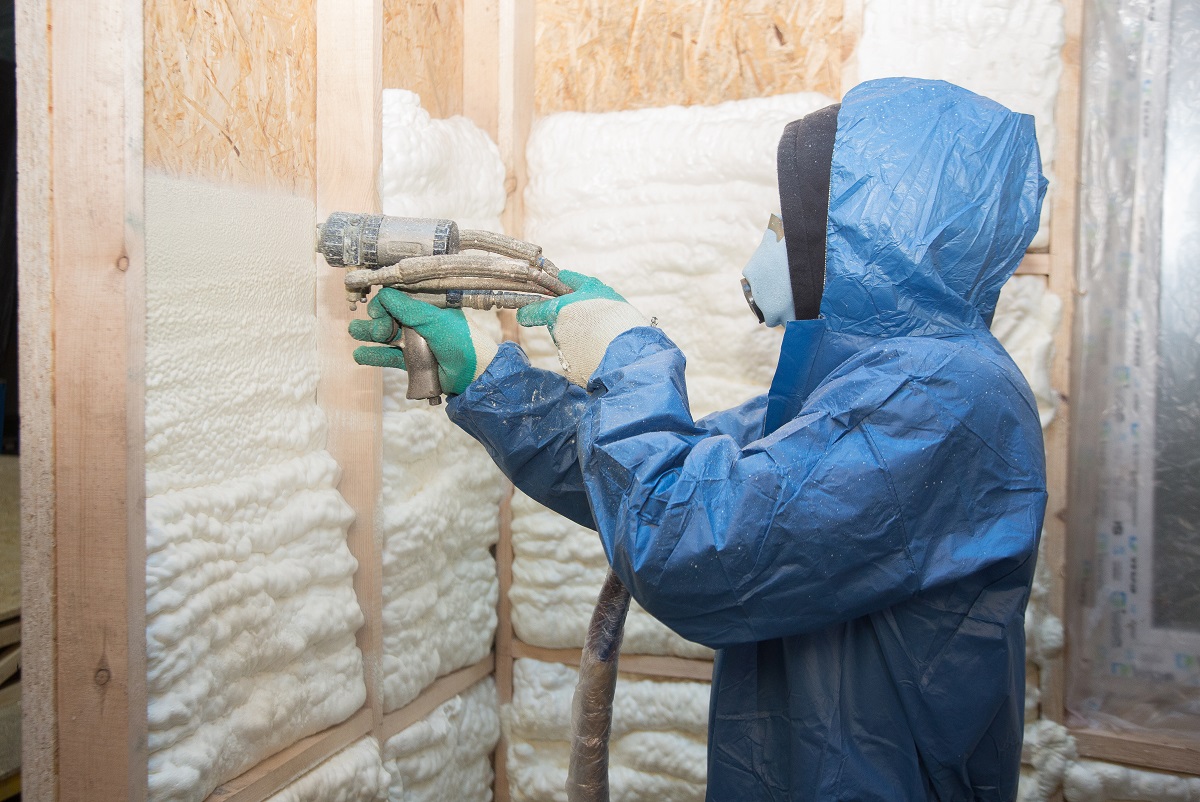
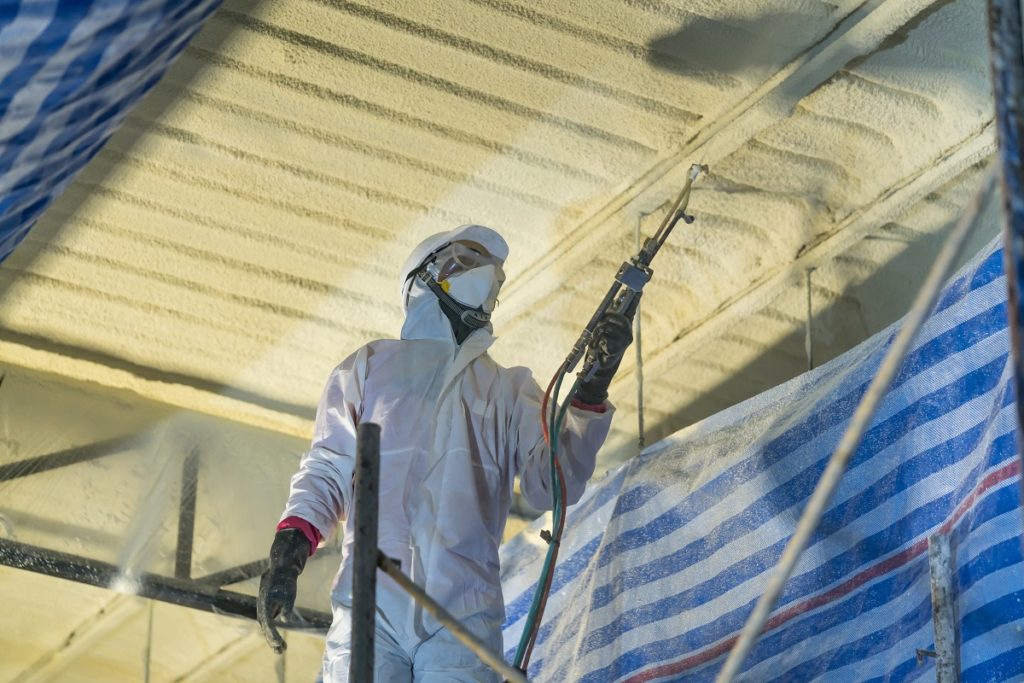
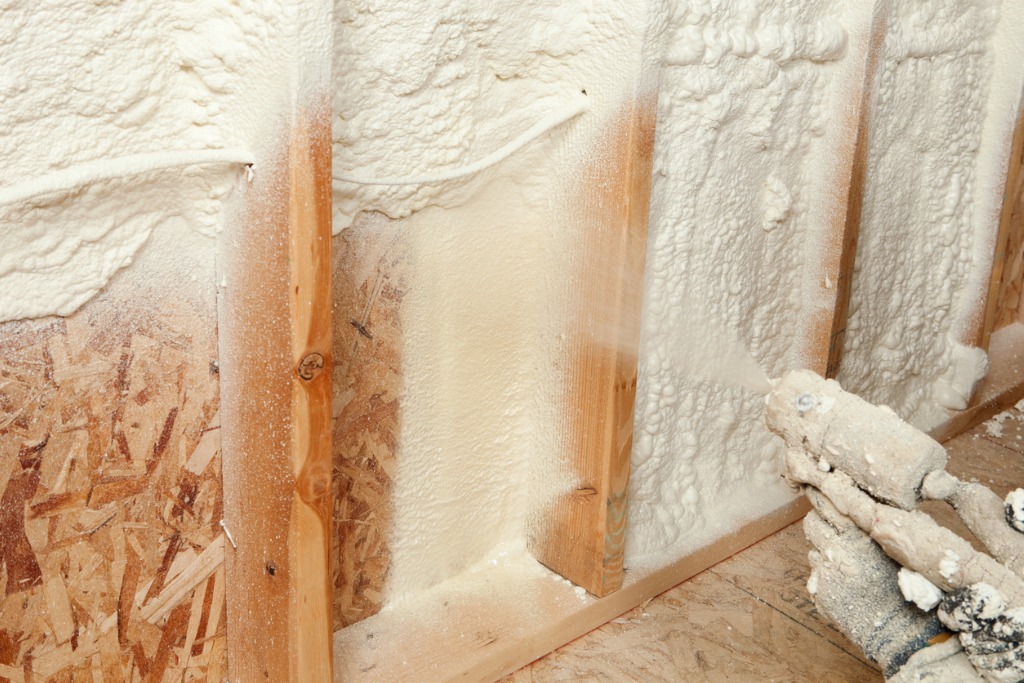
Spray Foam
Spray foam insulation is pressure sprayed on the surface, creating a solid barrier that effectively covers air and moisture gaps. You can choose between open-cell foam, which expands to fill any cavity, or closed-cell foam, which retains bubble integrity to create an impenetrable seal.
You can use spray foam insulation for any part of the house, including hard-to-reach areas. However, this insulation method is the most expensive out of the five mentioned.
Comparing the pros and cons of each insulation type, spray foam insulation stands out as the clear winner. The only downside to spray foam insulation is the cost since it tends to be more expensive than other types. However, this insulation method can give you more cost savings in the long run, so its advantages greatly outweigh its disadvantages.
Benefits of Spray Foam Installation
Spray polyurethane foam offers the following advantages, increasing your ROI on the installation fee.
1. Higher R-Values
Spray foam insulation boasts the highest R-value, or insulating power, among all insulation methods. Closed-cell foam has an R-value of around 6.5 to 7 per inch. Since the foam retains its shape, it’s more solid and offers higher resistance to heat.
Open-cell foam is spongier and less dense than its closed-cell counterpart, so it has a lower R-value. Even then, its R-value of 3.8 per inch is still similar to the rating of popular insulating materials like fiberglass batts and loose cellulose.
Make sure to have a spray foam insulation contractor do the installation for you. This method requires specialized tools and skills to ensure that the insulation performs as it should.
2. Air and Moisture Barrier
Polyurethane spray foam pushes itself into the tiniest spaces and crevices, sealing all air and moisture leaks. Other types of insulation, like blanket or foam board, don’t have this capability.
This air and moisture barrier makes spray foam insulation even more effective at reducing your energy consumption. By air-sealing your home, this form of insulation prevents heat loss due to drafts. Air-sealing can save you up to 15 percent of your heating and cooling costs, according to the Environmental Protection Agency.
On top of providing a solid, impervious barrier, spray foam insulation is also resistant to water. The foam retains its properties no matter how wet it gets, unlike other insulation materials that need to be replaced immediately when they get wet.
3. Better Indoor Air Quality
One of the benefits of polyurethane spray foam is better indoor air quality. Because the foam seals all cracks and crevices, it doesn’t allow unwanted outside air to flow into the house. This reduces the chances of the breeze carrying pollen and allergens into your room, which is a huge advantage if you’re living with someone with allergies or respiratory conditions.
Spray foam insulation also protects your house from pest infestation. Bugs, insects, and small rodents can’t get into your home since the gaps in the floors, ceiling, and walls are barricaded by the foam.
Also, spray foam minimizes the growth of mold and mildew. Since the material is water-resistant, the foam prevents moisture build-up, which is what mildew needs to grow.
4. Enhanced Structural Integrity
With its density and hardness, closed-cell foam insulation can fortify the structure of your house. Spray foam insulation adheres to surfaces, enhancing the structure’s overall integrity.
Thus, insulating your attic can help your roof and ceiling become more resistant to storms and extreme weather conditions.
Additionally, some types of spray foam insulation offer fire resistance. There are foam insulation applications that are fire retardant. This means the insulation material slows down the spread of flames, which prevents fire from growing. This fire-resistant property is especially helpful in locations that experience a lot of wildfires.
5. Soundproofing
Spray foam is the best type of insulation for sound-proofing your house. Sound from the outside usually travels indoors through the gaps in your doors and walls. Spray foam blocks these spaces and absorbs sound waves, making it an effective method for noise reduction.
If you only need to block low-frequency noise, open-cell foam should be enough for your soundproofing needs. For medium- and high-frequency sounds, go for denser closed-cell foam.
Now that you know how advantageous spray foam insulation is, it’s time to think about how you’ll apply it to your house. According to the Department of Energy (DOE), your home should be adequately insulated from the roof down to the foundation for maximum energy efficiency.
The Areas You Should Insulate in Your Home
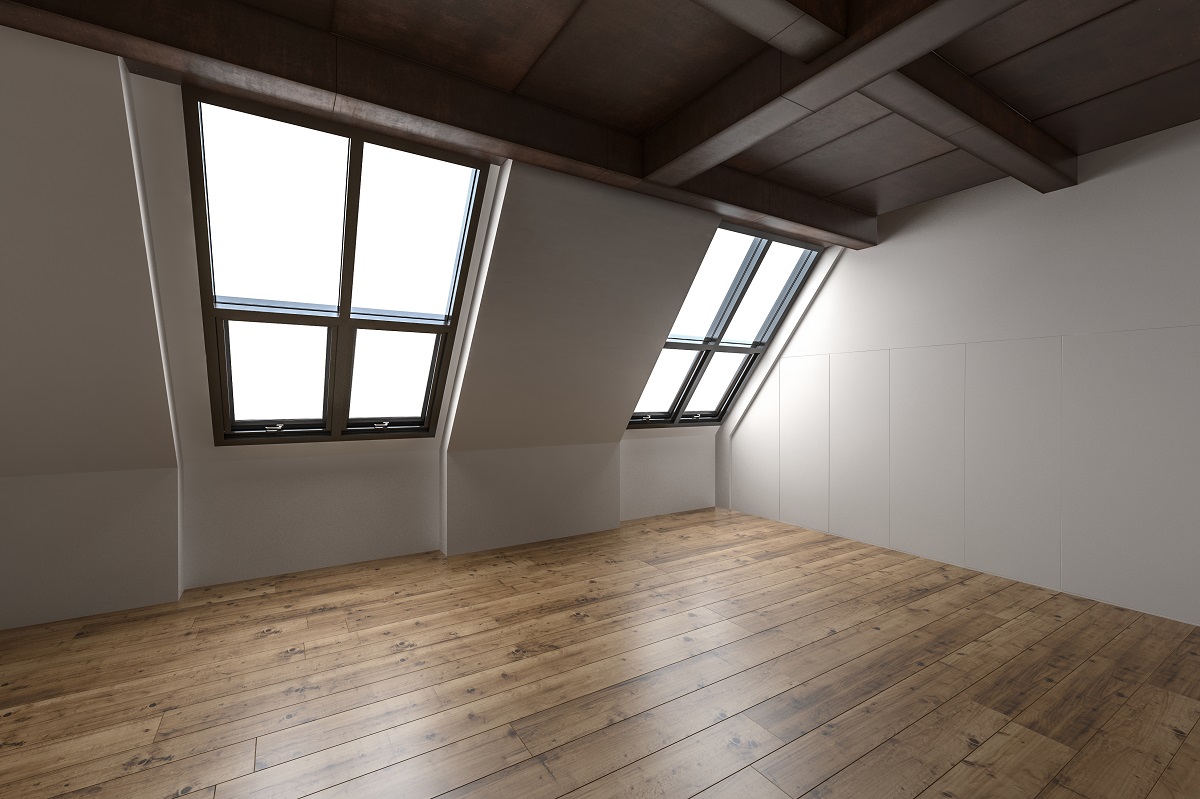
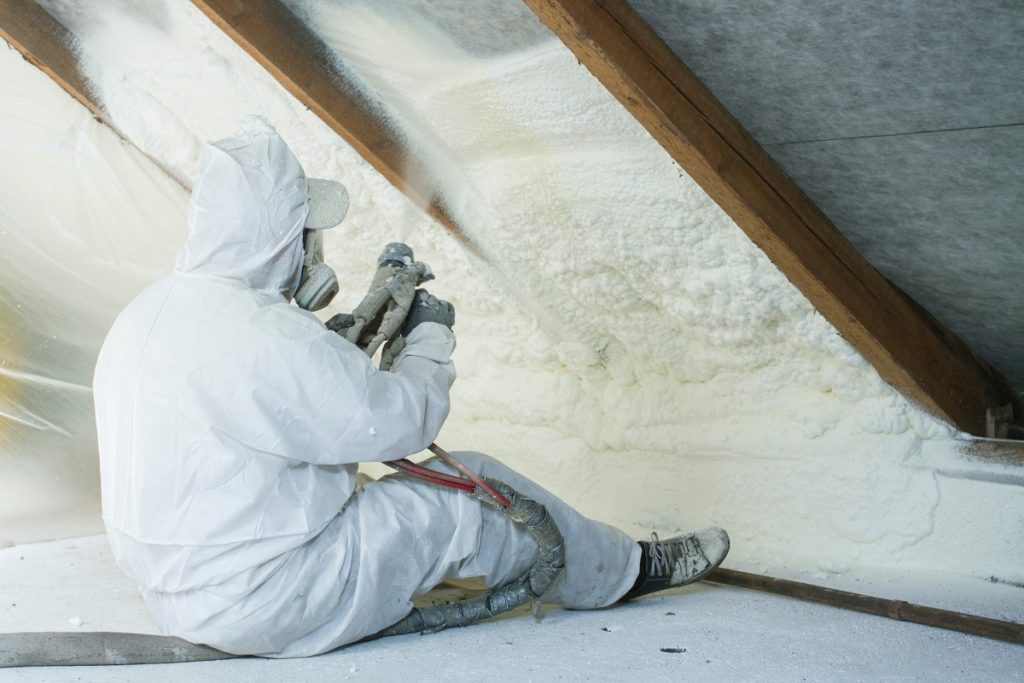
Attic
If your attic isn’t properly insulated, heat can leave your house through any cracks and crevices. In the summer, attic insulation keeps outside heat from entering your home. The DOE says that proper attic insulation can help you save up to 20 percent on your energy bills.
Spray foam makes the best attic insulation. The material takes the shape of any space or room, which is perfect for attics with irregular designs or protruding joists and beams.
Walls
Insulation on exterior walls provides air and moisture barriers, protects your house from water damage, and reinforces your home’s structural integrity. This insulation is responsible for maintaining your indoor temperature at a comfortable level.
Interior wall insulation, on the other hand, isn’t as common. Although, it does offer many benefits. For one, insulating interior walls before covering them with drywall prevents heat from leaking into adjacent rooms. This is beneficial for modern homes with thin walls. Soundproofing insulation also goes onto interior walls.
Basement
Many homeowners skip insulating their basement. However, basements are prone to cracks and gaps that cause water and air leaks. These leaks can result in moisture problems as well as pest infestation, mold growth, and more serious structural issues.
Insulating your basement seals up these cracks. On top of making your house more energy-efficient, insulation keeps your basement dry and comfortable. This is necessary if you’re planning to use your basement as a living space.
With these benefits and applications, spray foam insulation really gives you your money’s worth. Although it requires sizable payment upfront, the spray foam’s energy efficiency and durability will afford you better cost savings in the long run.
Again, we don’t encourage installing spray foam insulation by yourself. It’s best to have a professional contractor do it for you to maximize the foam’s insulating power. Work with a reputable spray foam insulation installer to ensure the quality of the service.
Top-Notch Spray Foam Insulation in Kansas City
A+ Insulation is a trusted insulation expert in Kansas City. Offering A+ services, our team uses quality materials and tools to evaluate your home’s energy efficiency. We’ll audit your house and recommend the ideal insulation solution, making sure that it’s adequately protected from excessive heat gain and loss.
Schedule a FREE appointment, so we can determine the way to insulate your home!
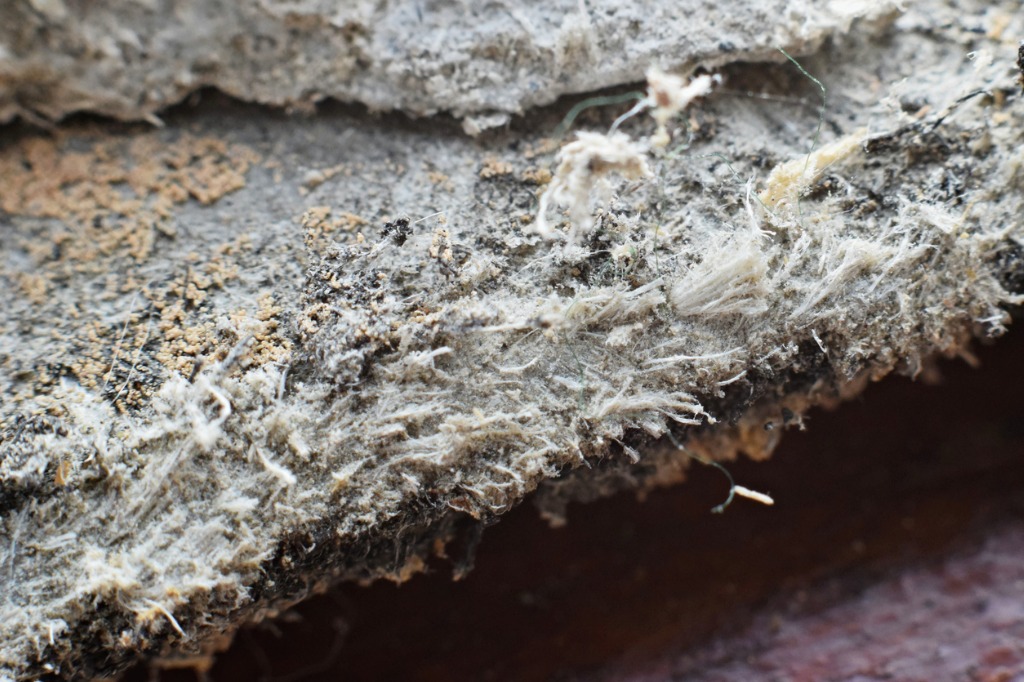 The use of asbestos as insulation remains legal in the United States, albeit highly regulated, according to the Kansas Department of Health and Environment. Despite its proven link that being exposed to asbestos can cause lung cancer and mesothelioma, there have been several failed attempts to implement laws against it.
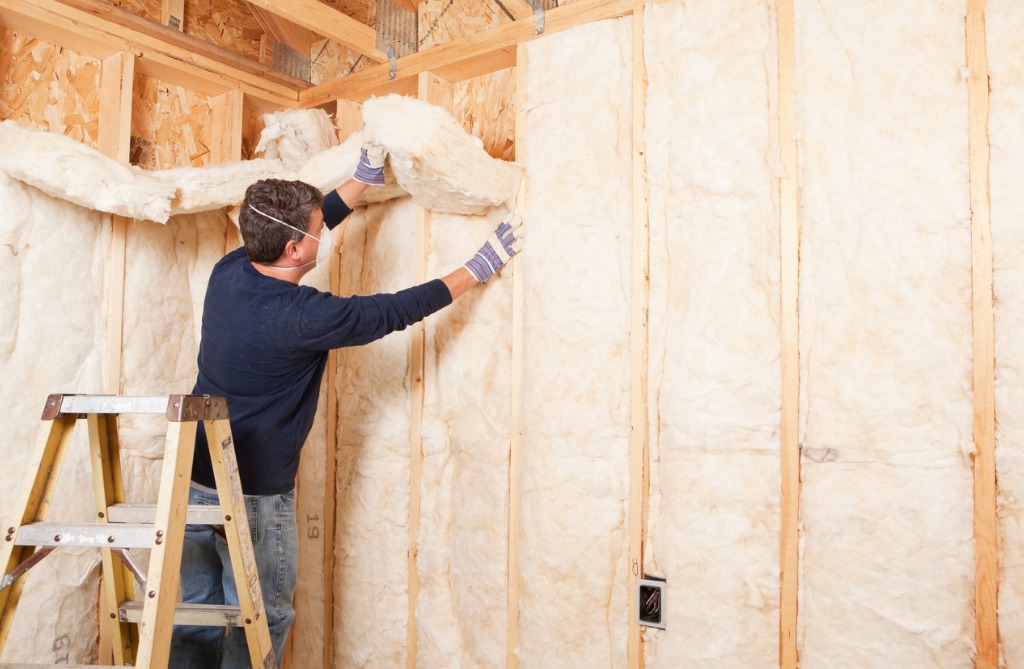 Insulation is an important and necessary addition to any home. An insulation upgrade proves itself to be one of the best improvements homeowners can make because of the return on investment it provides.


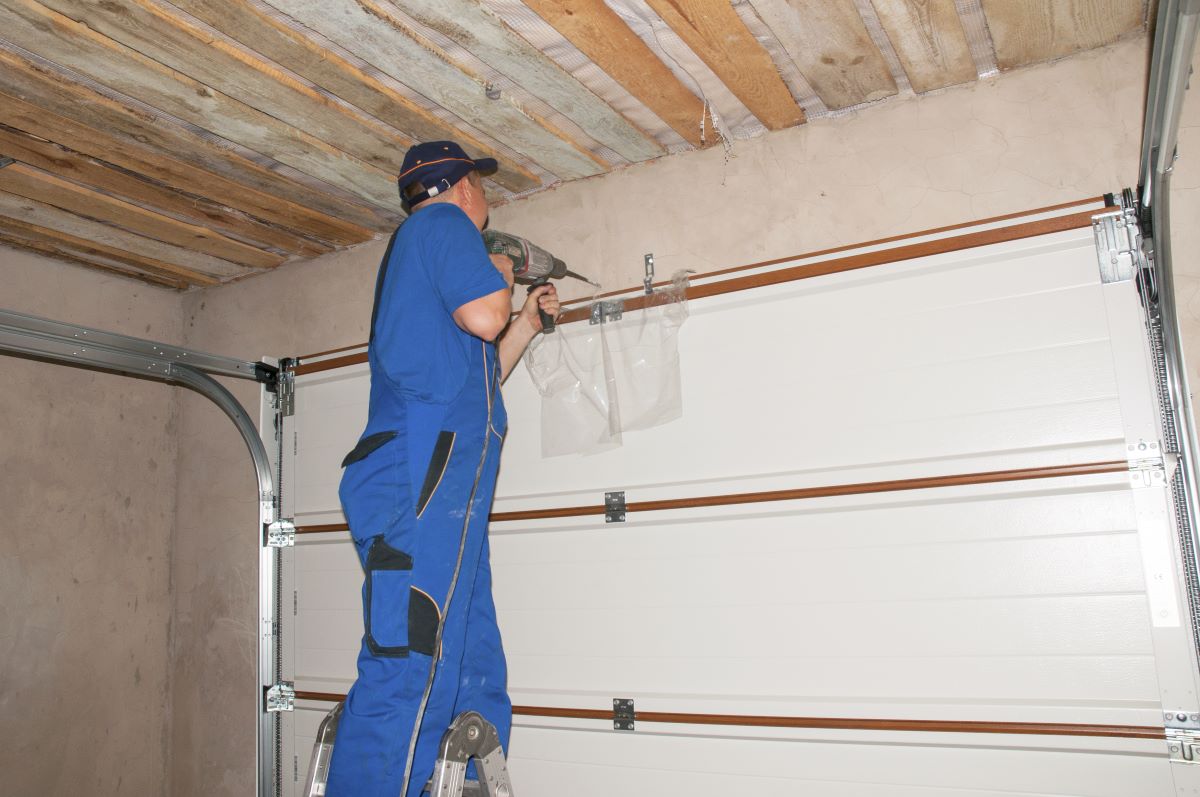
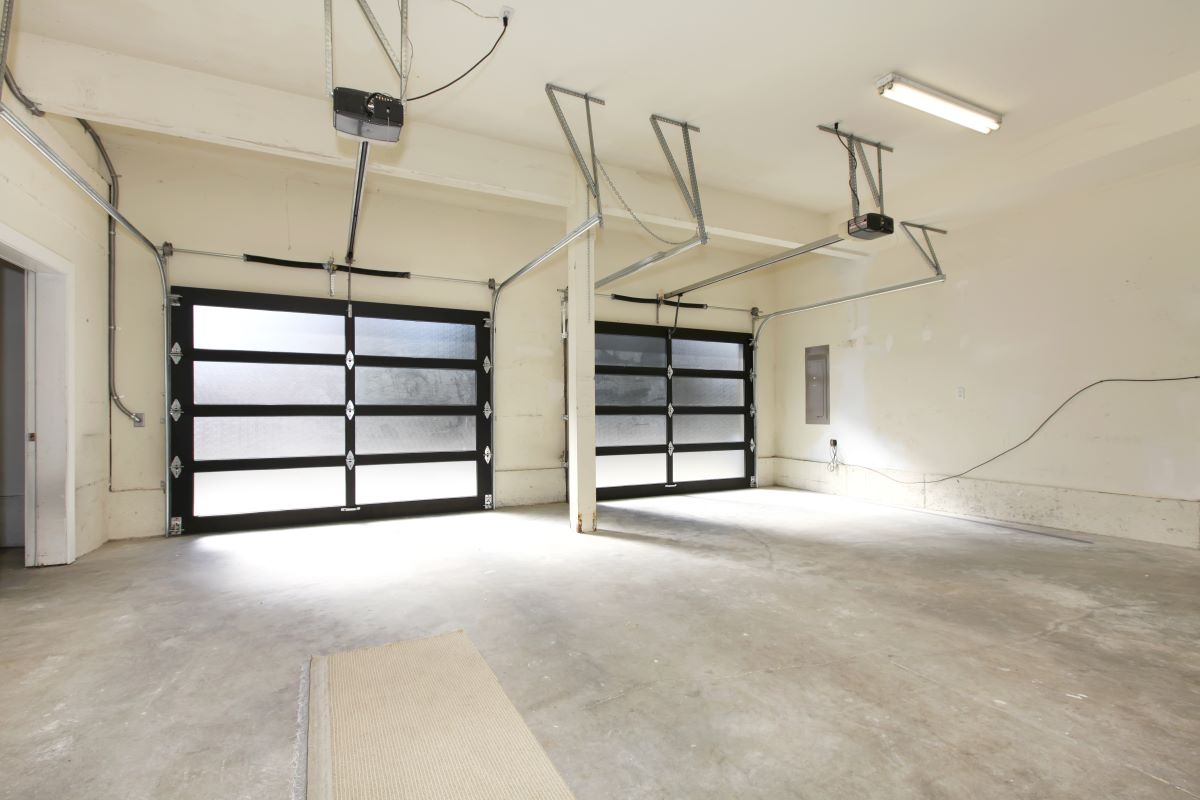 Whether or not you should insulate your garage door depends on how you use your garage. If you open and close the door several times a day, then there’s no point in insulating it. The frequent movement will just let out the heat you’re trying to keep inside the room. Additionally, the repeated motion can cause the insulating material to flake and pull apart.